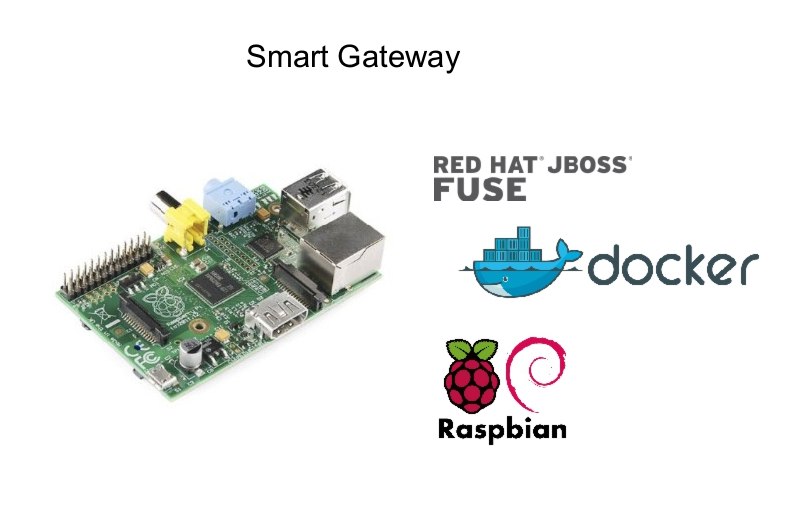
If you have followed my earlier posts, then you know, that I’m in the process of building an IoT Demo, with a Raspberry Pi2 as the Smart Gateway.
During this process, I had to re-install my Raspberry multiple times, but after the second time I got a bit tired of doing the same steps over and over again, so I decided to automate this deployment with Ansible.
If you are unfamiliar with Ansible, it’s a “radically simple IT automation engine that automates cloud provisioning,configuration management, application deployment, intra-service orchestration, and many other IT needs.”
These are the steps to perform, if you do not feel like doing the installation and configuration by yourself.
Step 1: Exchange ssh-key
Ansible does communicate with it’s hosts via ssh, so you will need to copy the ssh-key from your local system to the Raspberry Pi.
I’m running a Macbook and previously installed ssh-copy-id as a convenience script. So all I had to do to copy my existing key was
MacBook-Pro:files psteiner$ ssh-copy-id /Users/psteiner/.ssh/id_rsa pi@<ip to your rpi>
You will, of course, have to alter this command to your system.
Step 2: Enable password-less sudo on RPi
Again for convenience and simplicity I changed the behaviour of sudo on my RPi, so that members of a certain group are able to issue the command sudo without the need of entering a password.
In my case, any member of the group ‘sudo’ should become this privilege. The only thing required to do so is to alter on line in the file ‘/etc/sudoers’ from
# Allow members of group sudo to execute any command
%sudo ALL=(ALL:ALL) ALL
to
# Allow members of group sudo to execute any command
%sudo ALL=(ALL:ALL) NOPASSWD: ALL
Step 3: Clone git repository
All required code is on gitub.com, so all you need to do is to run
MacBook-Pro:files psteiner$ git clone https://github.com/PatrickSteiner/IoT_Demo_Gateway.git
Step 4: Add Red Hat JBoss Products
For the Smart Gateway to run, you will have to download the following Red Hat JBoss Products and place them into the directory IoT_Demo_Gateway/Ansible/files
For background information on what those products will do, please refer to Building a Raspberry Pi based Smart Gateway for IoT
Step 5: Adapting Ansible to your environment
Due to the simplicity of Ansible, there is not a lot to do, just edit the file IoT_Demo_Gateway/Ansible/hosts and replace the IP-Address of my RPi with yours.
[gateways]
192.168.178.103
Step 6: Running Ansible
Let’s fire it up, or in Ansible terminology “run the playbook”.
MacBook-Pro:Demos psteiner$ cd IoT_Demo_Gateway/Ansible/
MacBook-Pro:Ansible psteiner$ ansible-playbook gateway.yml

PLAY [Configure a Pi to be a smart gateway for IoT] ***************************

GATHERING FACTS ***************************************************************
ok: [192.168.178.103]

TASK: [Install various pre-requisites] ****************************************
ok: [192.168.178.103]

TASK: [Download Hypriot] ******************************************************
ok: [192.168.178.103]

TASK: [Install Hypriot] *******************************************************
changed: [192.168.178.103]

TASK: [Start Hypriot] *********************************************************
ok: [192.168.178.103]

TASK: [Enable Hypriot to run after reboots] ***********************************
ok: [192.168.178.103]

TASK: [Add user pi to docker group] *******************************************
ok: [192.168.178.103]

TASK: [Download Docker-Compose] ***********************************************
changed: [192.168.178.103]

TASK: [Install Docker-Compose] ************************************************
changed: [192.168.178.103]

TASK: [Clone Smart Gateway code from github] **********************************
ok: [192.168.178.103]

TASK: [Upload JBoss A-MQ] *****************************************************
ok: [192.168.178.103]

TASK: [Upload JBoss EAP] ******************************************************
ok: [192.168.178.103]

TASK: [Upload JBoss Fuse Integration for JBoss EAP] ***************************
ok: [192.168.178.103]

TASK: [Build Docker base image] ***********************************************
ok: [192.168.178.103]

TASK: [Building the other images with docker-compose] *************************
changed: [192.168.178.103]

PLAY RECAP ********************************************************************
192.168.178.103 : ok=15 changed=4 unreachable=0 failed=0
Please note that your output can look at bit different, as this was not the first time that I ran this Ansible playbook. Important is, that it will finish with ‘failed=0’
Details on how to run the Smart Gateway are already documented in Step 5 in Building a Raspberry Pi based Smart Gateway for IoT
Have fun and stay tuned for more to come!

