Deploying and managing robust, scalable web services is essential in today’s cloud-driven environments. Red Hat Enterprise Linux (RHEL) Image Mode provides an innovative approach, combining the simplicity and agility of container-based deployments with the robustness and reliability of traditional virtual machine instances on AWS. In this blog post, we will guide you through leveraging RHEL Image Mode to deploy a web application on AWS, demonstrating its practical advantages and streamlined workflow.
What Is RHEL Image Mode exactly?
RHEL Image Mode is a modern way to build, manage, and deploy Red Hat Enterprise Linux systems. It merges the consistency and agility of container images with the full power of a traditional Linux operating system. Instead of installing and configuring packages on a running system — which often leads to configuration drift — you define your system in a Containerfile, build it into a full bootable disk image, and deploy it as a single, consistent unit.
This approach results in predictable, repeatable systems that are easier to maintain over time, especially at scale.
How Image Mode Differs from Traditional Containers
While both containers and image mode use container-like build principles, their goals and scopes are fundamentally different:
| Feature | Image Mode | Containers |
| Scope | Entire operating system | Single application or process |
| Persistence | Full disk image, persistent across reboots | Stateless, ephemeral by default |
| Bootable | Yes | No |
| Update Mechanism | OSTree-based atomic updates | Replace or redeploy container images |
| Use Case | VM, edge devices, consistent system deployments | Microservices, lightweight app isolation |
Image Mode is ideal when you want the reproducibility and automation of containers but also need system-level control, such as in virtual machines, edge computing, or bare-metal deployments.
Why Use RHEL Image Mode?
- Container-like Behavior
Image Mode simplifies system builds by using container tooling to create and manage disk images — delivering the agility of containers without sacrificing OS-level functionality. - DevOps-Ready
Integrates seamlessly with automation tools such as podman, cloud-init, and CI/CD pipelines, aligning with modern DevOps practices and improving reproducibility. - Simplified Upgrades & Rollbacks
Thanks to OSTree, system updates are atomic and versioned. Rollbacks are fast and reliable — minimizing downtime and risk during updates. - Scalability for Edge and Fleets
Designed for scale, Image Mode supports automatic updates and centralized management, making it a strong choice for large-scale or distributed deployments. - Operational Consistency
Since systems are deployed from the same image, there’s no room for drift. This ensures a uniform, secure, and compliant environment across all instances.
By adopting RHEL Image Mode, organizations can achieve faster deployments, simplified lifecycle management, and increased reliability — all critical for success in today’s fast-moving IT environments.
And now, let’s start!
Step-by-Step Guide
Step 1: Creating Your GitHub Repository
Begin by setting up a GitHub repository and clone this locally, to store and version control your configurations:
git clone [email protected]:$YOUR_GITHUB_USER/rhel-image-mode-with-aws.git
cd rhel-image-mode-with-awsCode language: JavaScript (javascript)
This practice supports collaboration, traceability, and easy rollbacks in case of errors.
Step 2: Preparing Your Containerfile
A Containerfile defines the base image and software needed for your application. Here’s an example of a Containerfile:
FROM registry.redhat.io/rhel9/rhel-bootc:9.5

RUN dnf install -y httpd cloud-init && dnf clean all

RUN systemctl enable httpd
This specifies that the RHEL base image will include essential packages like httpd (Apache Web Server) and cloud-init (used for initializing virtual instances dynamically).
Step 3: Building Your RHEL Image
First login to the Red Hat container image registry to ensure access to official, secure RHEL images:
Create and login to the registry by visiting https://access.redhat.com/terms-based-registry and click “New service account”.
After creation copy the “docker login” and run the command but before change “docker” to “podman”:
podman login -u='11[...]03|domi-nik-' -p=eyJhbGci[...]DZBxqfQ registry.redhat.io
#as you need evelated to convert the container image to a disk image repeat the command with sudo
sudo podman login -u='11[...]03|domi-nik-' -p=eyJhbGci[...]DZBxqfQ registry.redhat.ioCode language: PHP (php)
Then build your image like you would build a “normal” container image using podman:
podman build -f Containerfile -t quay.io/$YOUR_QUAY_ACCOUNT_NAME/rhel-httpd-bootc:latestCode language: PHP (php)Step 4: Testing Your Image Locally
You can now run this image locally and test if everything works like expected without the need to install it on any device which is much more complicated as you need more hardware and much more time for that. And later if everything works as expected you can go ahead and install it on any of the supported platforms (updates will be managed). Or you can run the image as a container, too!
Run the image locally:
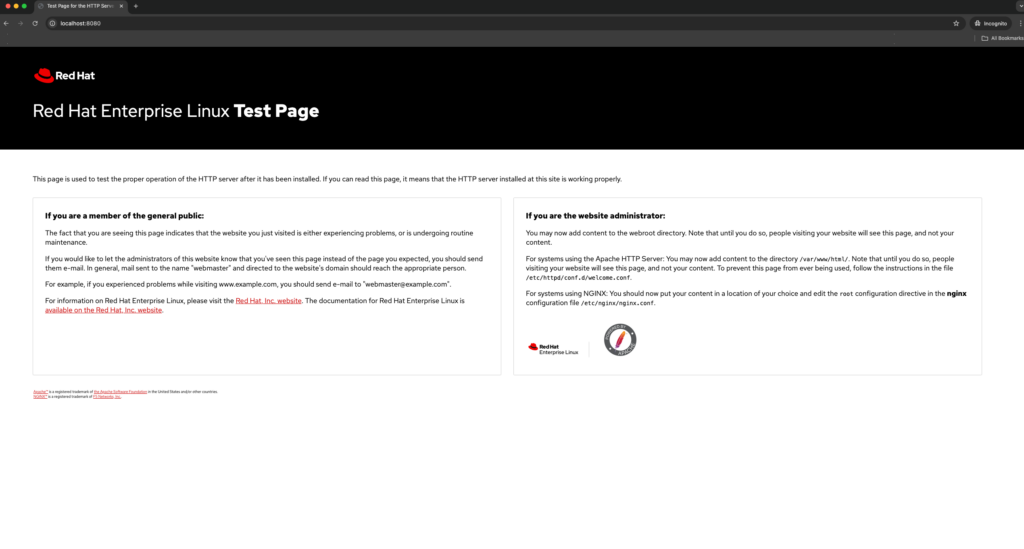
podman run -d --rm --name httpd -p 8080:80 quay.io/$YOUR_QUAY_ACCOUNT_NAME/rhel-httpd-bootc:latest /sbin/initCode language: PHP (php)If everything went fine, you should be able to access the web server with http://localhost:8080.

Step 5: Publishing the Image to a Registry
Now push your tested image to quay.io and make it public so that it is available for the next steps:
podman push quay.io/$YOUR_QUAY_ACCOUNT_NAME/rhel-httpd-bootc:latestCode language: PHP (php)This simplifies automation and ease deployments to AWS.
Step 6: Creating an AMI and Uploading to AWS
You could now use your image to create disk images to run on most cloud and virtualization technologies and even on bare metal. In this example we want to deploy the image as an instance on AWS.
To convert your container image into an AWS-compatible AMI use the provided script from my github-repo, just follow the link:
./generate_AMI.shThe script does the following:
- Creates an S3 Bucket as upload destination of the AMI Image
- Setups all needed Roles and Rights for importing AMI Images in your AWS Account
- Packages the RHEL instance via podman into an image format compatible with AWS
- Uploads the resulting image to AWS and makes it available for launching new EC2 instances.
Step 7: Deploying Your Environment on AWS
We will now create the AWS Infrastructure in our VPC including
- Internet-Gateway
- ELB
- EC2 Instances for our AMI Image
- Setting up a Launch Configuration via cloud-init UserData and
- Output our Website URL for testing our simple PHP application
For that we use CloudFormation to simplify your AWS infrastructure deployment, you can find the file again on my github-repo, just follow the link:
aws cloudformation create-stack --stack-name rhel-httpd-aws-stack \

--template-body file://setup-aws-environment.yml \

--parameters ParameterKey=ImageId,ParameterValue=ami-xxxxxxx ParameterKey=InstanceType,ParameterValue=t4g.microCode language: JavaScript (javascript)
Step 8: Day-2 Operations and Managing Updates
One of the great benefits of RHEL Image Mode is the ability to update your image in the same way you would update a regular container image by just rebuilding it, push it to the registry and tag as “latest”. The instances deployed from it will then automatically update to the newest version. Yes, you can configure the time until the update or switch it off completely if necessary and initiate it later manually.
Give it a try by rebuilding and pushing the updated images with e.g. a new Containerfile called “Containerfile.php”, that will make our PHP-site work:
podman build -f Containerfile-php -t quay.io/$YOUR_QUAY_ACCOUNT_NAME/rhel-httpd-aws:latest

podman push quay.io/$YOUR_QUAY_ACCOUNT_NAME/rhel-httpd-aws:latestCode language: PHP (php)
Instances automatically update, significantly reducing manual intervention.
Before that the PHP-site did not work but after the update it does, see the screenshots below.
Before:
After:
Conclusion
Through this guide, you’ve learned to utilize RHEL Image Mode effectively on AWS, gaining significant benefits in scalability, consistency, and operational efficiency.
You find all scripts and more detailed steps on my github-repo: https://github.com/domi-nik-/rhel-image-mode-with-aws

